The Ultimate Cold Brew Coffee Recipe and Guide for Home Brewers
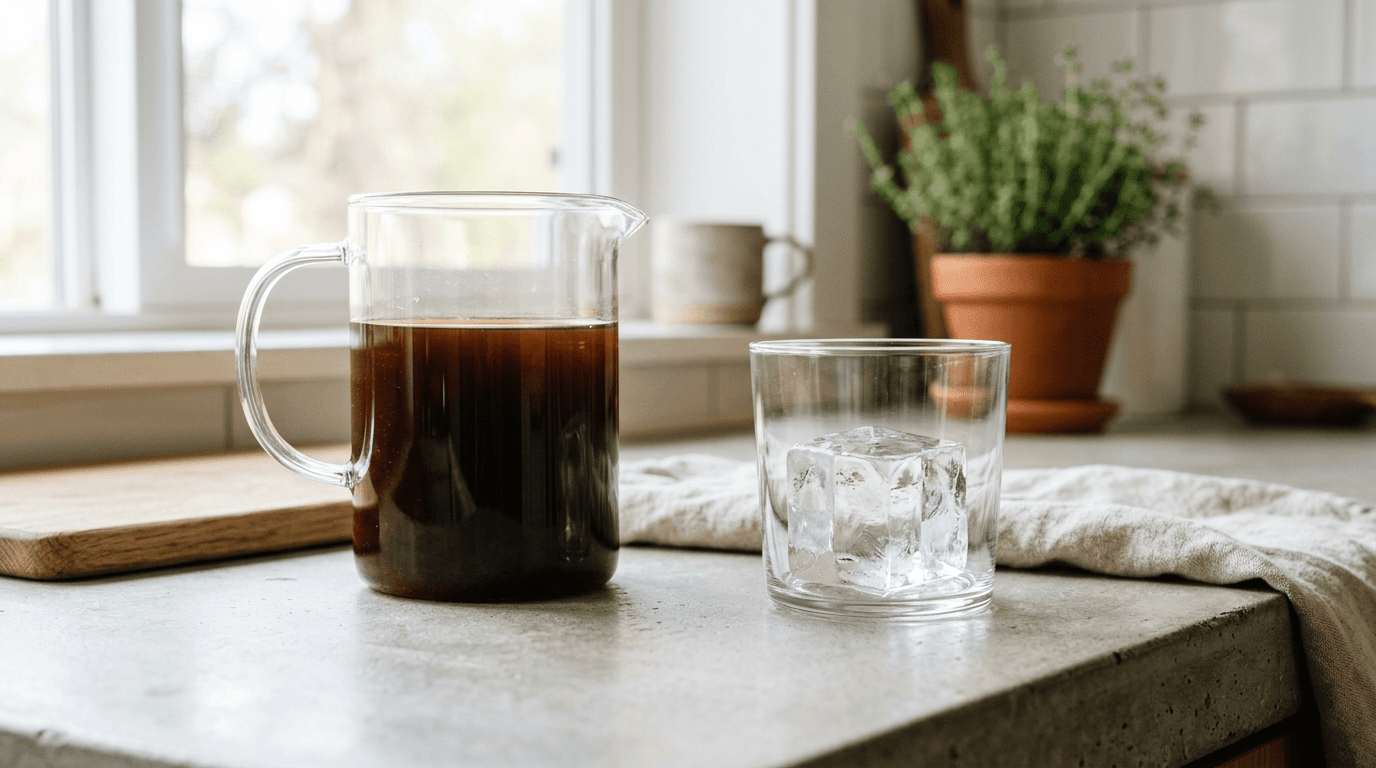
Standing in a stifling kitchen during a July heatwave, staring at a pour-over kettle, is the exact moment most home brewers decide they need a chilled alternative. Pouring freshly brewed hot coffee directly over ice immediately dilutes the cup, leaving you with a watery, highly acidic beverage that tastes completely unbalanced. Achieving a heavy-bodied, low-acidity cup requires a complete shift in extraction methodology. Dialing in a reliable cold brew coffee recipe at home transforms your morning routine from a tedious, sweat-inducing chore into a simple matter of opening the refrigerator.
Quick Summary
Cold brewing is an immersion technique that replaces heat with time, extracting flavors slowly over 12 to 24 hours to produce a concentrated, low-acidity coffee. By managing grind size, mass-based ratios, and a two-stage filtration process, home brewers can replicate professional cafe standards in their own kitchens.
- Use a coarse grind: The grounds should resemble coarse sea salt to prevent over-extraction during a long steep.
- Measure by mass: A strict 1:4 ratio of coffee to water by weight ensures a robust, stable concentrate.
- Steep at room temperature: Ambient heat allows for proper extraction in 14 to 16 hours without stalling the process.
- Filter gently: Never squeeze the grounds when straining, as this forces bitter tannins into the finished batch.
- Dilute before drinking: The resulting concentrate must be cut with water or milk before consumption.
Table of Contents
- The Science Behind a Reliable Cold Brew Coffee Recipe
- 1. Select the Right Bean Profile and Grind Size
- 2. Measure by Mass for the Perfect Cold Brew Coffee Ratio
- 3. Manage the Steep in Your Vessel
- 4. Filter Without Forcing the Extract
- 5. Dilute and Store the Concentrate
- Common Pitfalls & Troubleshooting
- FAQ
- Recommended Reads
The Science Behind a Reliable Cold Brew Coffee Recipe
People frequently ask what is cold brew coffee and how it genuinely differs from standard iced coffee. The distinction lies entirely in the extraction chemistry. Standard brewing uses hot water - typically between 195 and 205 degrees Fahrenheit - to rapidly dissolve the soluble compounds locked inside roasted coffee beans. This heat forcefully extracts highly volatile acids and oils, which provide the bright, crisp tasting notes associated with a morning pour-over. When you chill that hot liquid over ice, those volatile compounds oxidize quickly, turning the cup stale and harsh.
Understanding why cold brew coffee tastes completely different requires looking at temperature as a solvent. Cold or room-temperature water lacks the kinetic energy to dissolve certain chlorogenic acids and heavy oils. Instead, the prolonged immersion process slowly pulls out the sugars and heavier flavor compounds while leaving the harshest acidic elements behind in the spent grounds. This results in an incredibly smooth, chocolate-forward, and syrup-like mouthfeel.
Because the process yields a dense liquid rather than a ready-to-drink beverage, finding a dedicated Cold Brew Coffee bean specifically roasted for this method gives you a tremendous head start. Darker roasts tend to excel here, as their sugars are more heavily caramelized and readily dissolve even in cold water. You can physically test the density of your finished product by observing how it coats the side of a clear glass - a properly extracted batch will cling to the walls briefly before settling.
1. Select the Right Bean Profile and Grind Size
The foundation of any immersion method is controlling the total surface area exposed to the water. In a hot, fast process like espresso, you need a fine powder to maximize contact in thirty seconds. For an immersion lasting over twelve hours, that much surface area will inevitably lead to extreme over-extraction, pulling out harsh, woody flavors that ruin the batch.

This dictates exactly how you process your beans. You must use a high-quality burr grinder set to its coarsest setting. The physical pieces of coffee should look and feel like coarse sea salt or raw sugar crystals. A blade grinder is entirely unsuitable for this task because it chops the beans unevenly, creating a mixture of giant boulders and microscopic dust. That fine dust will over-extract rapidly and clog your filters later on.
Many beginners ask: can you make cold brew with regular coffee grounds from the supermarket? Mechanically, yes, you can pour water over any ground coffee. Practically, pre-ground retail coffee is sized for automatic drip machines. It is far too fine for a long ambient steep. If you use drip-grind coffee, the final liquid will taste intensely bitter and leave a thick layer of silty mud at the bottom of your glass.
Practical rule: If you rub the dry coffee grounds between your thumb and index finger and they leave a dusty residue on your skin, the grind is too fine for a 16-hour immersion.
Testing out various Sample Packs allows you to experiment with how different origins behave at a coarse setting. A darker profile will extract faster and provide deeper cocoa notes, while a lighter African roast will require slightly more time to yield its subtle fruity characteristics.
2. Measure by Mass for the Perfect Cold Brew Coffee Ratio
Consistency in brewing requires precise measurement of the two ingredients involved. Most kitchen recipes rely on volumetric measurements - cups, tablespoons, and ounces. Coffee beans, however, vary wildly in density depending on their origin and how darkly they were roasted. A dark roast bean expands significantly during roasting, meaning a tablespoon of dark roast weighs much less than a tablespoon of light roast.
To establish a baseline, you must calculate your cold brew coffee ratio by mass using a digital kitchen scale. We are aiming to create a highly stable, shelf-ready concentrate rather than a weak, ready-to-drink fluid. The standard benchmark for a robust concentrate is a 1:4 ratio by weight. This means for every 1 gram of coffee, you will use 4 grams of filtered water.
If you want to brew a substantial weekly batch, weigh out 200 grams of coarsely ground coffee and pair it with 800 grams of water. Starting with a robust 6 Bean Blend at this exact ratio guarantees a heavy body that will stand up to milk and ice without thinning out.
The most frequent mistake home brewers make at this stage is guessing the water volume by looking at the markings on a pitcher. Because the dry coffee absorbs roughly twice its own weight in water during the steep, a volumetric guess will almost always leave you with far less liquid than you anticipated, and the strength will swing wildly from week to week. Place your empty vessel on the scale, tare it to zero, add your grounds, tare it again, and pour your water slowly until you hit the exact target mass.
3. Manage the Steep in Your Vessel
Once your ingredients are measured, the physical environment of the steep determines the final flavor profile. You do not need expensive, specialized equipment to manage this phase. Learning how to make cold brew coffee mason jar style is the easiest entry point for a diy cold brew coffee setup. A standard wide-mouth glass jar is entirely non-reactive, airtight, and easy to clean.
The mechanics of saturation are critical. Do not dump all the dry coffee in and aggressively flood it with water. Instead, pour one-third of your water over the grounds, wait thirty seconds for the coffee to absorb the liquid and release trapped carbon dioxide, and then slowly pour the remainder in a circular motion.
After ten minutes of resting, you will notice a thick "crust" of dry grounds floating at the top of the jar. You must take a spoon and gently push this crust down into the liquid, ensuring every single piece of coffee is fully submerged. If grounds remain dry on the surface, they will not extract, and your final batch will taste weak and grassy.
The fatal error in this step is immediately placing the sealed jar into the refrigerator. Cold temperatures drastically slow down solubility. If you steep a 1:4 ratio in the fridge, it will take up to 36 hours to fully extract, and it rarely develops the heavy syrup body that makes the drink enjoyable. Leave the sealed jar on your kitchen counter at room temperature, away from direct sunlight, for 14 to 16 hours. The ambient heat acts as a catalyst, pulling the heavy sugars out of the beans efficiently.
4. Filter Without Forcing the Extract
Separating the spent solid grounds from the finished liquid is the messiest part of the process, and doing it poorly ruins the texture of the drink. When the 16-hour ambient steep is complete, the liquid is heavily saturated with dissolved solids. The goal is to remove both the large coffee pieces and the microscopic fines that slipped through the burr grinder.
A single-stage filtration process rarely works. Pouring the mixture straight through a paper filter will instantly clog the paper pores, stalling the drain entirely and leaving you frustrated. Conversely, pouring it only through a metal sieve allows fine silt to pass into your final storage jar, which will continue to extract over the next week, turning the batch astringent and bitter.
You must use a two-stage gravity drain. First, pour the entire contents of the mason jar through a fine metal mesh strainer or a cheesecloth-lined colander into a secondary pitcher. This catches the bulk boulders. Next, rinse your storage jar, place a standard paper coffee filter in a dripper or funnel over the rim, and pour the semi-filtered liquid through the paper.
The mistake that ruins countless batches happens right here: squeezing the grounds to get the last few drops of liquid out. The liquid trapped inside the physical coffee grounds is heavily saturated with bitter, woody tannins. Pressing or squeezing the mesh bag or filter forces those tannins out into your clean concentrate, instantly destroying the smooth profile you spent 16 hours building. Let gravity do the work, and throw the wet grounds away when the dripping stops naturally.
5. Dilute and Store the Concentrate
The liquid currently sitting in your jar is a dense, highly caffeinated extract. It is structurally designed to survive dilution. Because we brewed at a 1:4 ratio by mass, the concentration of total dissolved solids is far too high to consume black.
The mechanics of serving require cutting the concentrate to balance the flavor. The industry standard starting point is a 1:1 dilution. If you pour four ounces of your extract into a glass, you must add four ounces of filtered water or cold milk. From there, you can adjust the dilution ratio to match your personal preference.
Pouring undiluted extract directly over ice and drinking it black is a common beginner error. Not only does this overwhelm the palate with an unpleasantly heavy, sludgy texture, but it also delivers an uncomfortable dose of caffeine that can easily equal three or four standard cups of hot coffee in a single sitting. Always measure your dilution.
Once filtered, the pure concentrate will easily survive in the refrigerator for up to two weeks without oxidizing or souring, provided it is kept in an airtight container. The moment you introduce water or milk to the extract, its shelf life drops to roughly 24 hours before the flavor flattens out entirely. Keep the master batch sealed, and dilute only what you intend to drink that morning - whether you are taking it to the office or enjoying it outside in an Enamel Mug on a weekend morning.
Common Pitfalls & Troubleshooting
Even with precise measurements, variables like ambient temperature and bean age can shift the results. Diagnosing the final cup allows you to adjust the next batch accurately.
The brew tastes sour, acidic, or highly grassy This is a classic symptom of under-extraction. The water did not pull enough sugars out of the beans to balance the lighter compounds. The most frequent cause of this is steeping the mixture in the refrigerator instead of at room temperature, which stalls the solubility. Fix: Move your next steep to the kitchen counter and allow it to sit for a full 14 to 16 hours.
The brew is extremely bitter and dries out your mouth This astringency indicates severe over-extraction. The water has broken down the woody cellular structure of the bean itself, pulling out harsh tannins. This happens when the surface area is too high or the ambient temperature in your kitchen is unusually hot. Fix: Check your grinder setting and move it significantly coarser. If you are already at the coarsest setting, cut your steep time back from 16 hours to 12 hours.
There is a thick, muddy sludge at the bottom of the glass Silt occurs when microscopic coffee fines bypass your filtration stage. While a small amount of sediment is normal in immersion brewing, a heavy layer of mud indicates a failure in filtering. Fix: Implement a two-stage filter process, ensuring the final pass goes through a thoroughly rinsed paper filter. Do not agitate or squeeze the filter paper while it drains.
The flavor is incredibly weak and watery A weak cup almost always stems from a failure in ratio management or poor saturation at the start of the steep. Fix: Stop using measuring cups. Weigh your water and coffee on a digital scale to enforce the 1:4 ratio, and remember to gently stir the crust down ten minutes into the steep to ensure all grounds are thoroughly wet.
FAQ
How long does homemade concentrate stay fresh in the refrigerator? An undiluted, properly filtered concentrate kept in an airtight glass container will maintain its optimal flavor profile for 10 to 14 days in the refrigerator. Once you mix it with water or milk, it should be consumed within 24 hours.
Should I stir the mixture while it steeps? No. Beyond gently pushing the initial crust down ten minutes after pouring the water, you should leave the jar completely undisturbed. Excessive agitation speeds up extraction unpredictably and forces fine particles into suspension, making the liquid harder to filter later.
Can I reuse the spent coffee grounds for a second batch? No. The 16-hour ambient steep exhausts virtually all of the pleasant soluble sugars and flavor compounds present in the beans. Any attempt to steep them a second time will yield a harsh, woody water completely lacking in sweetness or body.
Does this method produce more caffeine than a standard hot pour-over? By volume, the undiluted extract contains significantly more caffeine than a standard hot brew simply because you are using much more dry coffee per ounce of water. Once properly diluted to a 1:1 ratio, the caffeine content per serving normalizes and is roughly equivalent to a standard hot cup.